I know this week was supposed to be water fun with your pictures…but I ran into a bit of technical difficulties on that front and therefore I am going to slide those fun tips back a couple of weeks.
Remember, these ideas and techniques will permanently alter your photographs. Do not try this on any photos that are one of a kind, without negative or digital back-up or are antique photos. If you would like to use an antique or one-of-a-kind photo, I suggest you scan them and reproduce them, using the reproduction to play with. This probably seems really logical; I just feel better stating it before we start…
So moving on, painting fun!
#1 Photo Tinting
One thing I like to do with my photo editing software is tinting my photographs, my software comes with a tint black, tint sepia, tint purple, tint green and so on…I thought this might be fun to try with paint.
In a small container add a small amount of acrylic paint to water, at about a 1:5 ratio, you want this to be very watery.

Brush the paint over the entire surface of the photograph. The paint will streak some, but just let it dry that way.


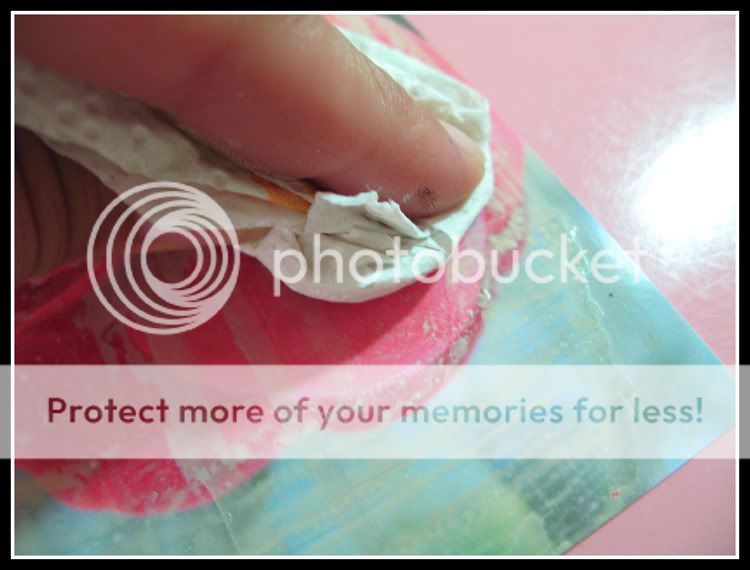
When the paint is dry, you can go back into the photograph and carefully remove any paint with a slightly damp towel in areas where you want the subject to stand out more.


This is fun to do on a black and white photo too...here I tinted my picture of Bonnie with pale pink.

#2 Dry Brushing Editing
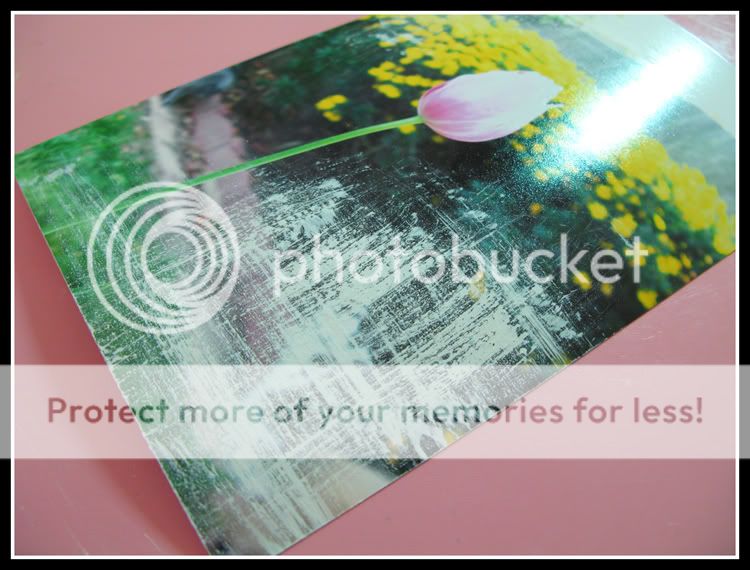
Another quick and easy technique is to dry brush over the top of unwanted portions of your pictures. In this picture the tulip is the subject and the two cats, who wandered into the frame, are going to be edited out.

I used a small amount of acrylic paint and stippled my dry paint brush into it.

Then lightly brush the paint onto the offending part of the picture is a cross-hatch fashion. Use light brush strokes as you can always build up the amount of paint to get the coverage you want.

And now the cats are edited from the photo...

#3 Finger Painting
Finally, I thought it might be fun to see how finger painted photo corners would look…easy enough to try.
Just dip your finger into the paint and swipe two short (or long, your choice) lines at each corner of the photo…


It also might be fun to try polka-dots or small hearts finger painted on the photo...hmm...I may have to run out to the studio and try that...
Try combining the painting ideas, like I did here to really bring the tulip into focus…fun!

And here is a layout I made with my photo of Bonnie...(sorry the scanner is on the fritz, and the layout got a bit cut-off on the right side...but you get the idea).

So was the experiment worth it? Here is the tally:
Cost: $0…we all have acrylic paints on hand, and the cheap stuff works just as well for these ideas.
Fun Factor: Pretty fun
Time: 10-15 minutes, depending on drying time
Skill Level: Basic
So there it is, Fun Photo Painting! Easy Peasy…and Cheap! Cheap!
I like how you left the main focal point untouched. It makes it stand out more. Neat idea
ReplyDelete