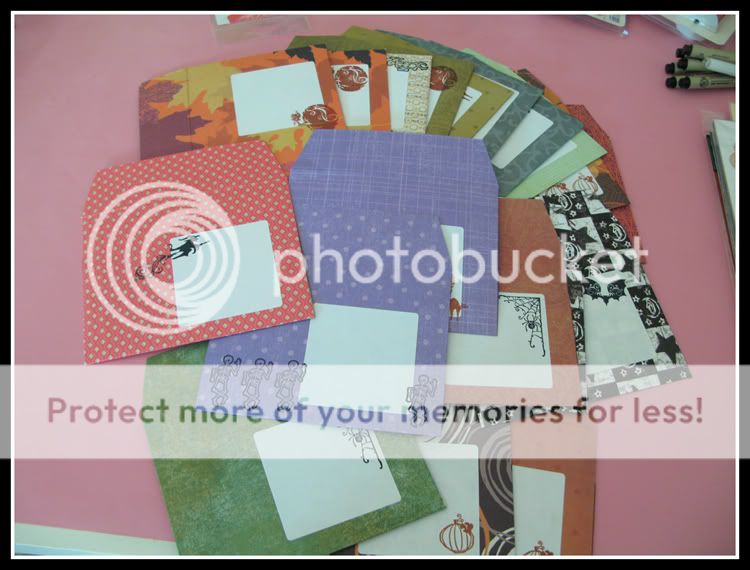
Like I said last week…I am really in the mood to start my Halloween projects.
This week I am going to show you part one of making your own holiday envelopes.
This is a link to the .pdf of the envelope I used in this tutorial, but I wasn’t completely happy with it…so I fidgeted on my computer last night and made my own version (.jpg version and .pdf version), which I think works a bit better. And then I went a bit further and converted the image to .gsd, for anyone using a Silhouette die-cutting machine.
First I gathered up a bunch of Halloween and Halloween colored papers and trimmed them all to 81/2” X 11”, so they will print on my desktop printer.
I printed the .pdf of the envelope onto the white side of the papers, or if it was a double-sided paper, onto the lighter side.
I trimmed out all the envelopes…by hand…all 23 of them! Which is why I made a .gsd version for making my Christmas envelopes!
I scored and folded them on the printed score line (light gray).
If you can’t see the score line on the patterned paper, it is fairly obvious where the fold needs to go…simply fold in all the ‘tab’ parts.
I placed a double-sided adhesive, 3M Scotch Brand, on the bottom ‘tab’, lining up the edge of the tape with the paper.
And folded the bottom up adhering it to the two side ‘tabs’. Super simple!
Since I used heavily patterned paper for my envelopes, I added a mailing label on the outside…
And decorated them with some Halloween themed stamps.
So was the experiment worth it? Here is the tally:
Cost: I used a bunch of papers I had on hand, all were 12X12 cut down to 8 1/2X11…and I kept the scraps to use for the matching cards.
Time: I spent close to two and a half hours….but I got 23 envelopes made.
Skill Level: super basic
There you have it, Homemade Holiday Envelopes…easy peasy and cheap cheap!
And be sure to come back next week and check out the final step for your homemade envelopes…lick & stick glue!


These are so cool.
ReplyDeleteThanks for sharing the files. I guess I will have to get one of my daughters to work it for me teehee.
Matthew loved the mini envelope he got from you in the mail. He thought it was the cutest thing ever.
ReplyDelete