If you've found your way here from the Moda Bakeshop...welcome! I can't take credit for this piped binding method, entirely...its a mash-up of online tutorials, hints from friends, advice from teachers...and a lot of practice!
I hope you find it helpful...
First decide which of two fabrics you want to be the piping and which will be the binding.
Cut the piping strips 1 3/'4" X WOF
Cut the binding strips 1 1/2" X WOF
(a hint: just remember it makes no sense, the part the shows the least is cut the widest...)
Sew both the piping strips and the binding strips together, end to end, with a mitered join.
With right sides together, cross two strips at 90 degrees...
Mark a line between the two inside corners...
Sew a hairs-width to the outside of the marked line...
And repeat....repeat....repeat...until all the strips of piping and binding are sewn into two very long strips. Press and trim the miters.
with the binding (narrower) strip on top of the piping (wider) strip, sew the entire length of the two strips with a 1/4" seam.
At your pressing board, again with the binding (narrower) fabric on top...
Press the piped binding open with the seam towards the piping (narrower) strip.
Flip the pipied binding over and press in half lengthwise.
See how cool that little bit of contrast is....and being able to bind the entire quilt on the machine more than makes up for the additional time it takes to prepare a piped binding!
(Don't forget to neatly roll-up the cool piped binding...snap a photo....and post is on social media! It's so satisfying!) #quiltingrules
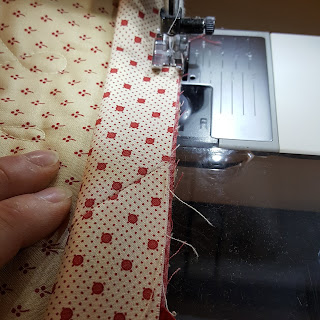
Sew the piped binding face down on the BACKside of the finished quilt top. This feels so counter-intuitive, but absolutely necessary!
Be sure to leave about 18" of unsewn binding at the beginning. You will need this to make a neat mitered join to the end of the piped binding.
After sewing the piped binding around the entire quilt...leave another 18" of unsewn binding at the end.
Place a pin in the edge of the quilt about half way between the beginning stitching and the end stitching...
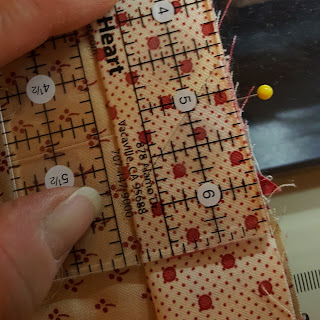
Measure the width of your folded binding...mine measures 1 3/8" wide.
Lay the binding flat on the quilt and measure 1 3/8" (or whatever your measurement is) PAST the pin.
repeat for the other end of the binding...
And trim both ends on the marked line.
Unfold the end of the binding (that is coming towards you) and lay flat...
Place the other end of the binding, also unfolded, right side down, at 90 degrees, on top...be careful not to twist the binding.
Mark a diagonal line from top right to bottom left of the overlap, and sewn a hairs-width to the outside of the marked line.
Open the miter BEFORE you trim to make sure there are no twists in the binding, and that the piping and binding match up. If everything looks good, trim the miter...
Lay the joined binding down on the quilt top (it should fit exactly now) and finish sewing.
Turn the piped binding to the front of the quilt, and using a "stitch in the ditch" foot and thread that matches the fabric of the piping, stitch down between the piping and the binding.
Easy peasy...one, two, threesy!
Thanks for stopping by...now get out there and finish binding those quits!


Thank you so much for this and the ornament tutorials Christine!!! Just lovely. Your instructions here demystify the technique enough I think I get it and want to try. Happy New Year!! Linda
ReplyDelete